Materials used
| No. | Part Name | Image |
|---|---|---|
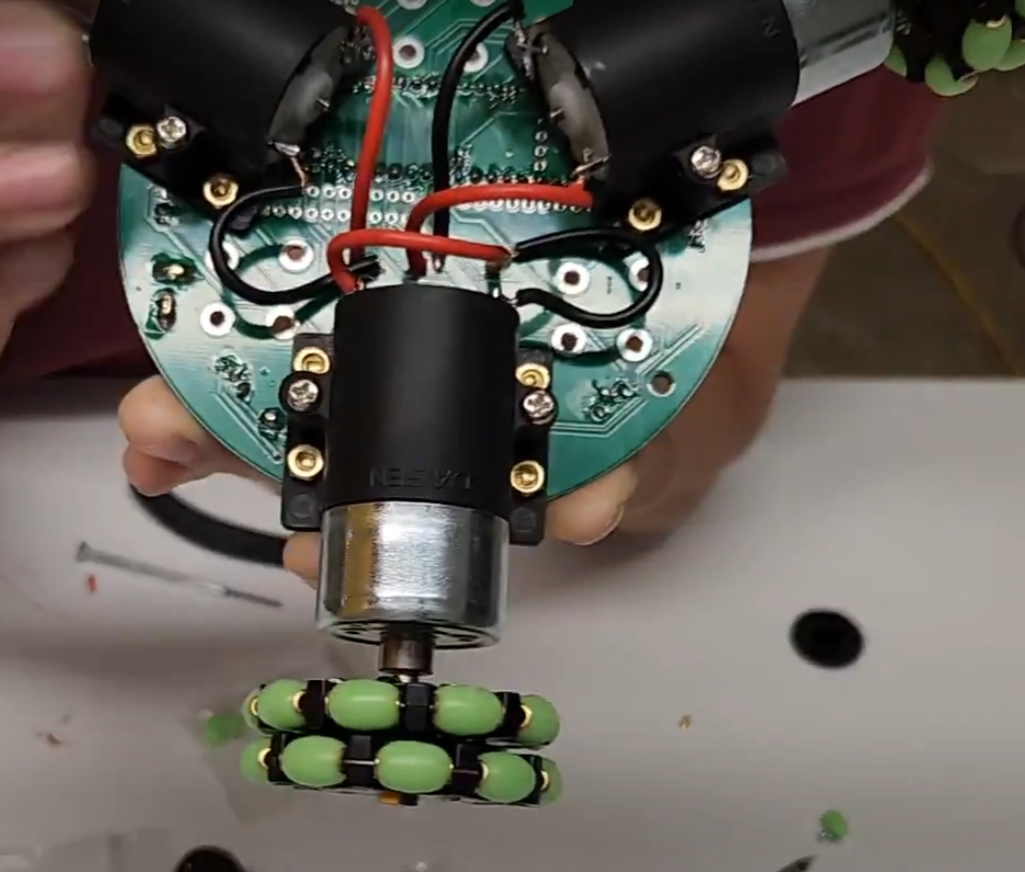
| 1. | Motor and Omniwheel from Part 5 x3 |  |
| 2. | M3 Bolts x12 | 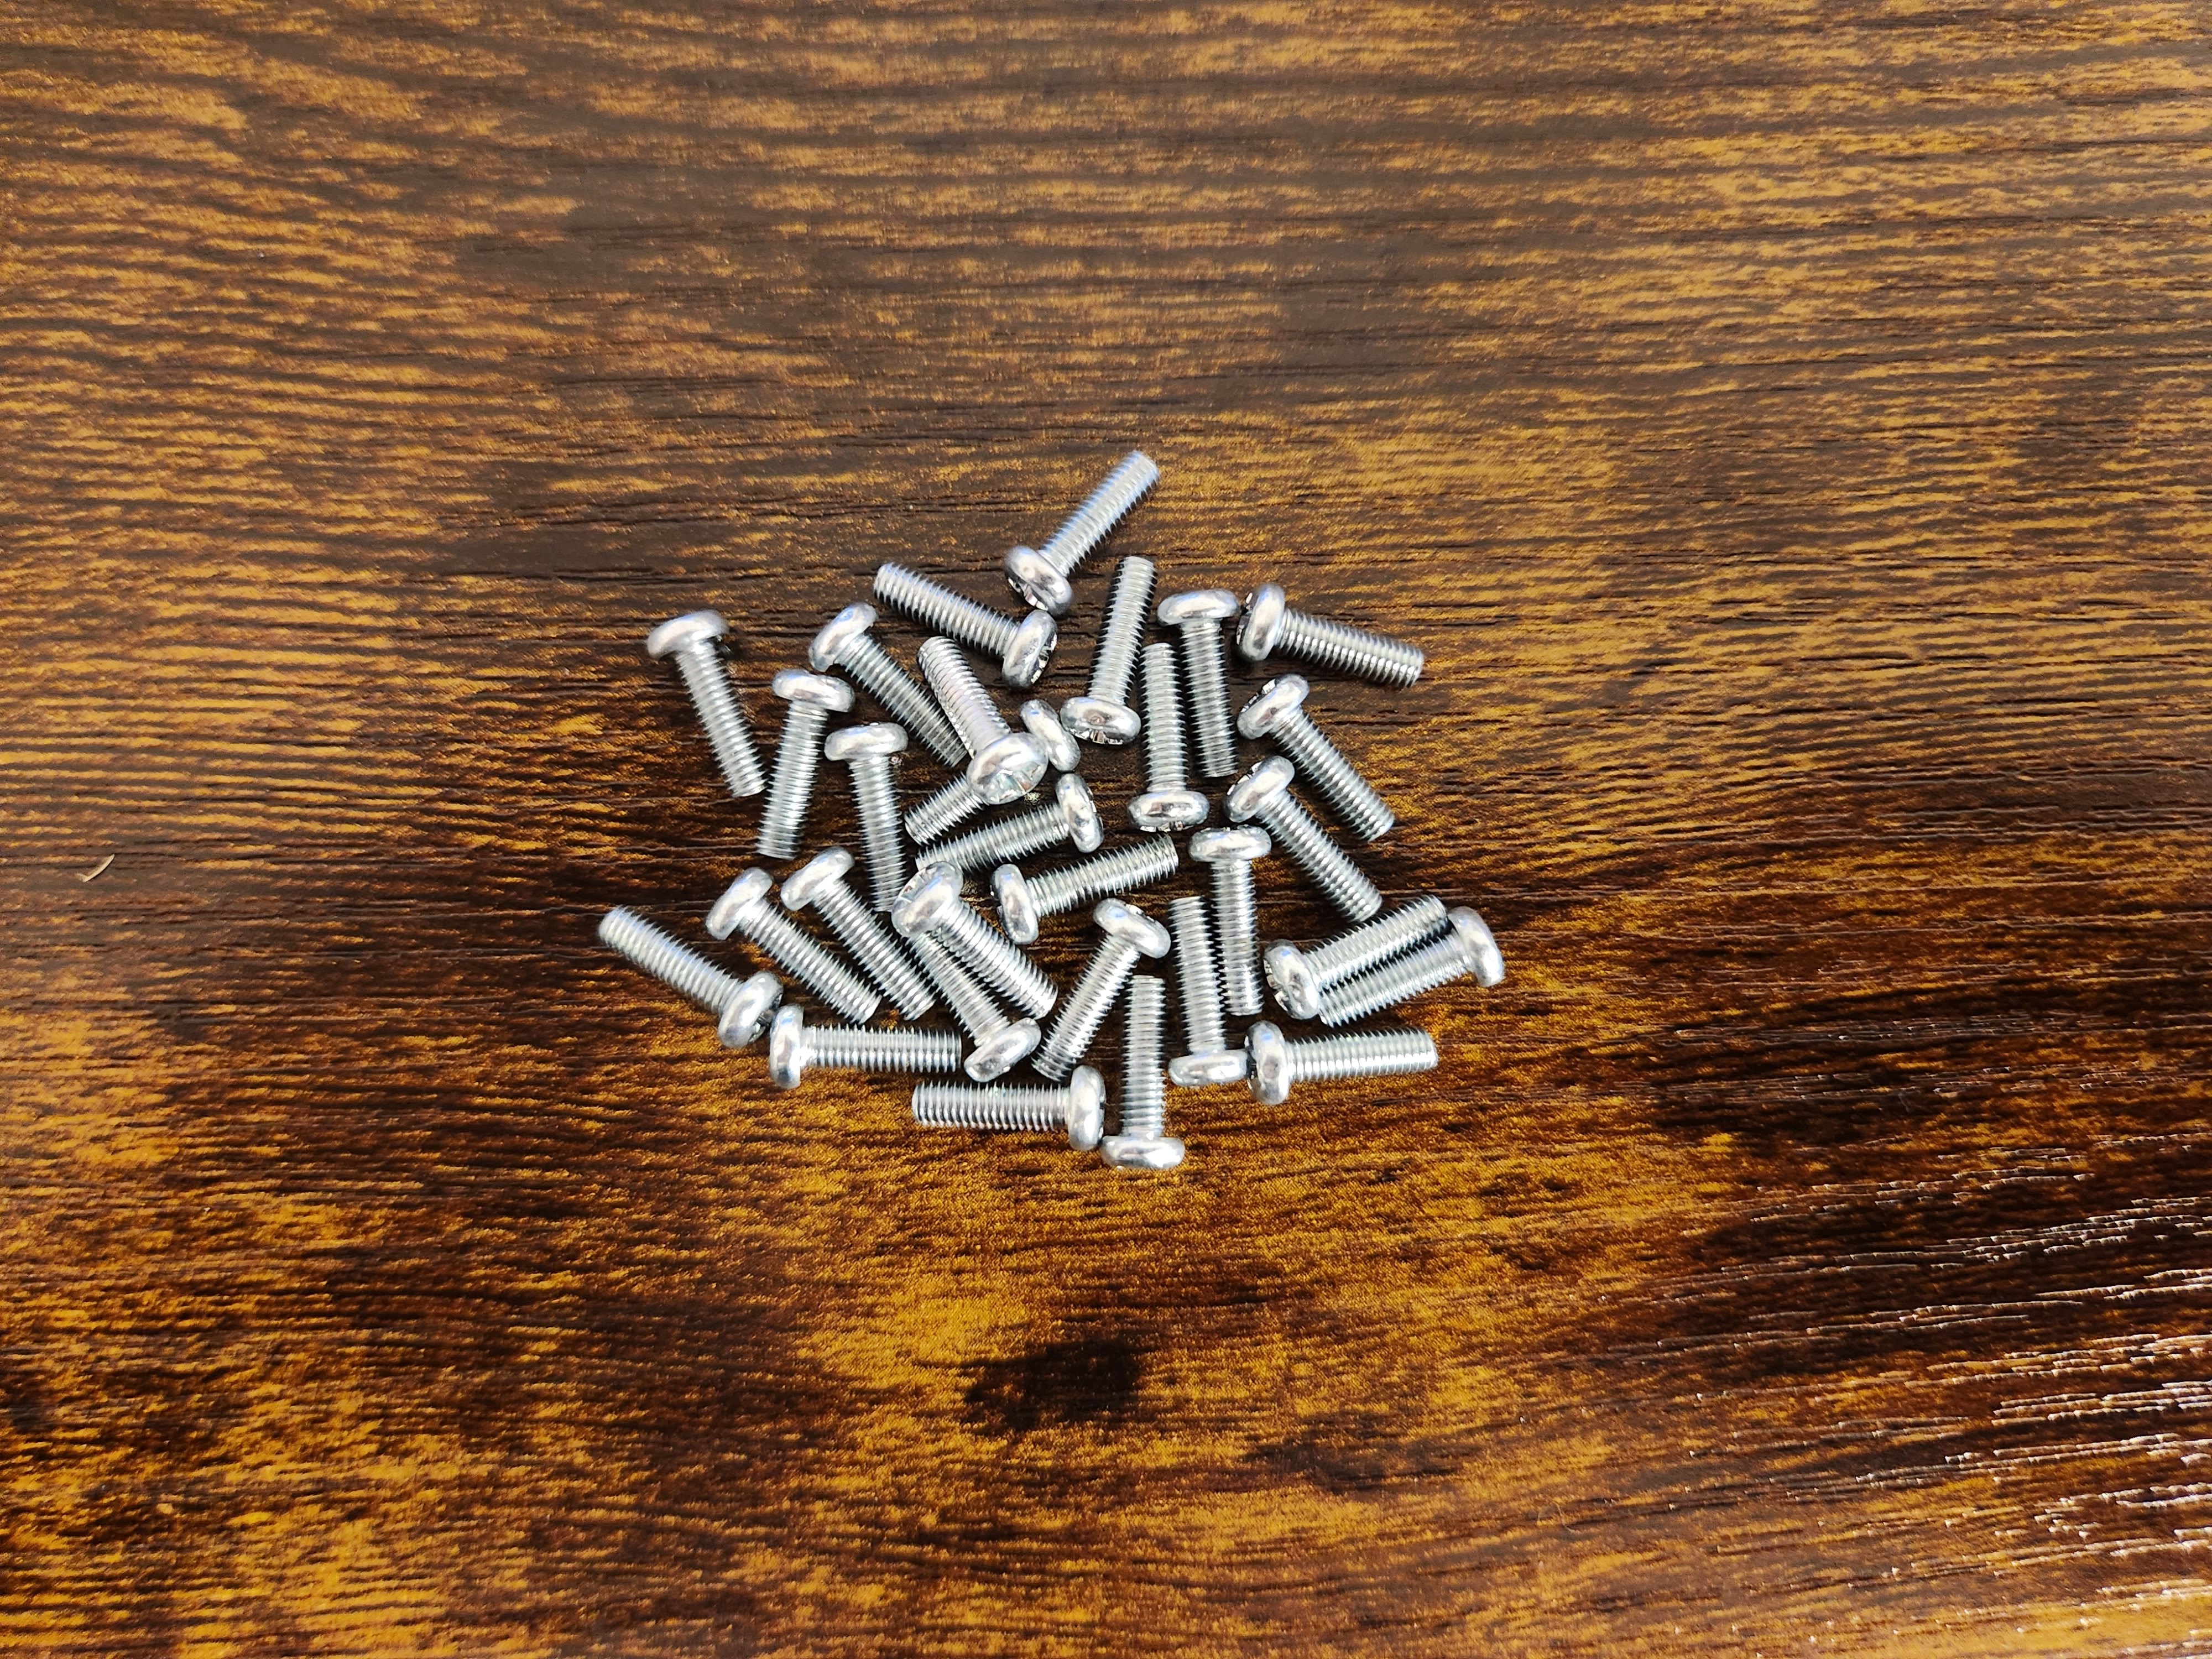 |
| 3. | M3 Nuts x12 | 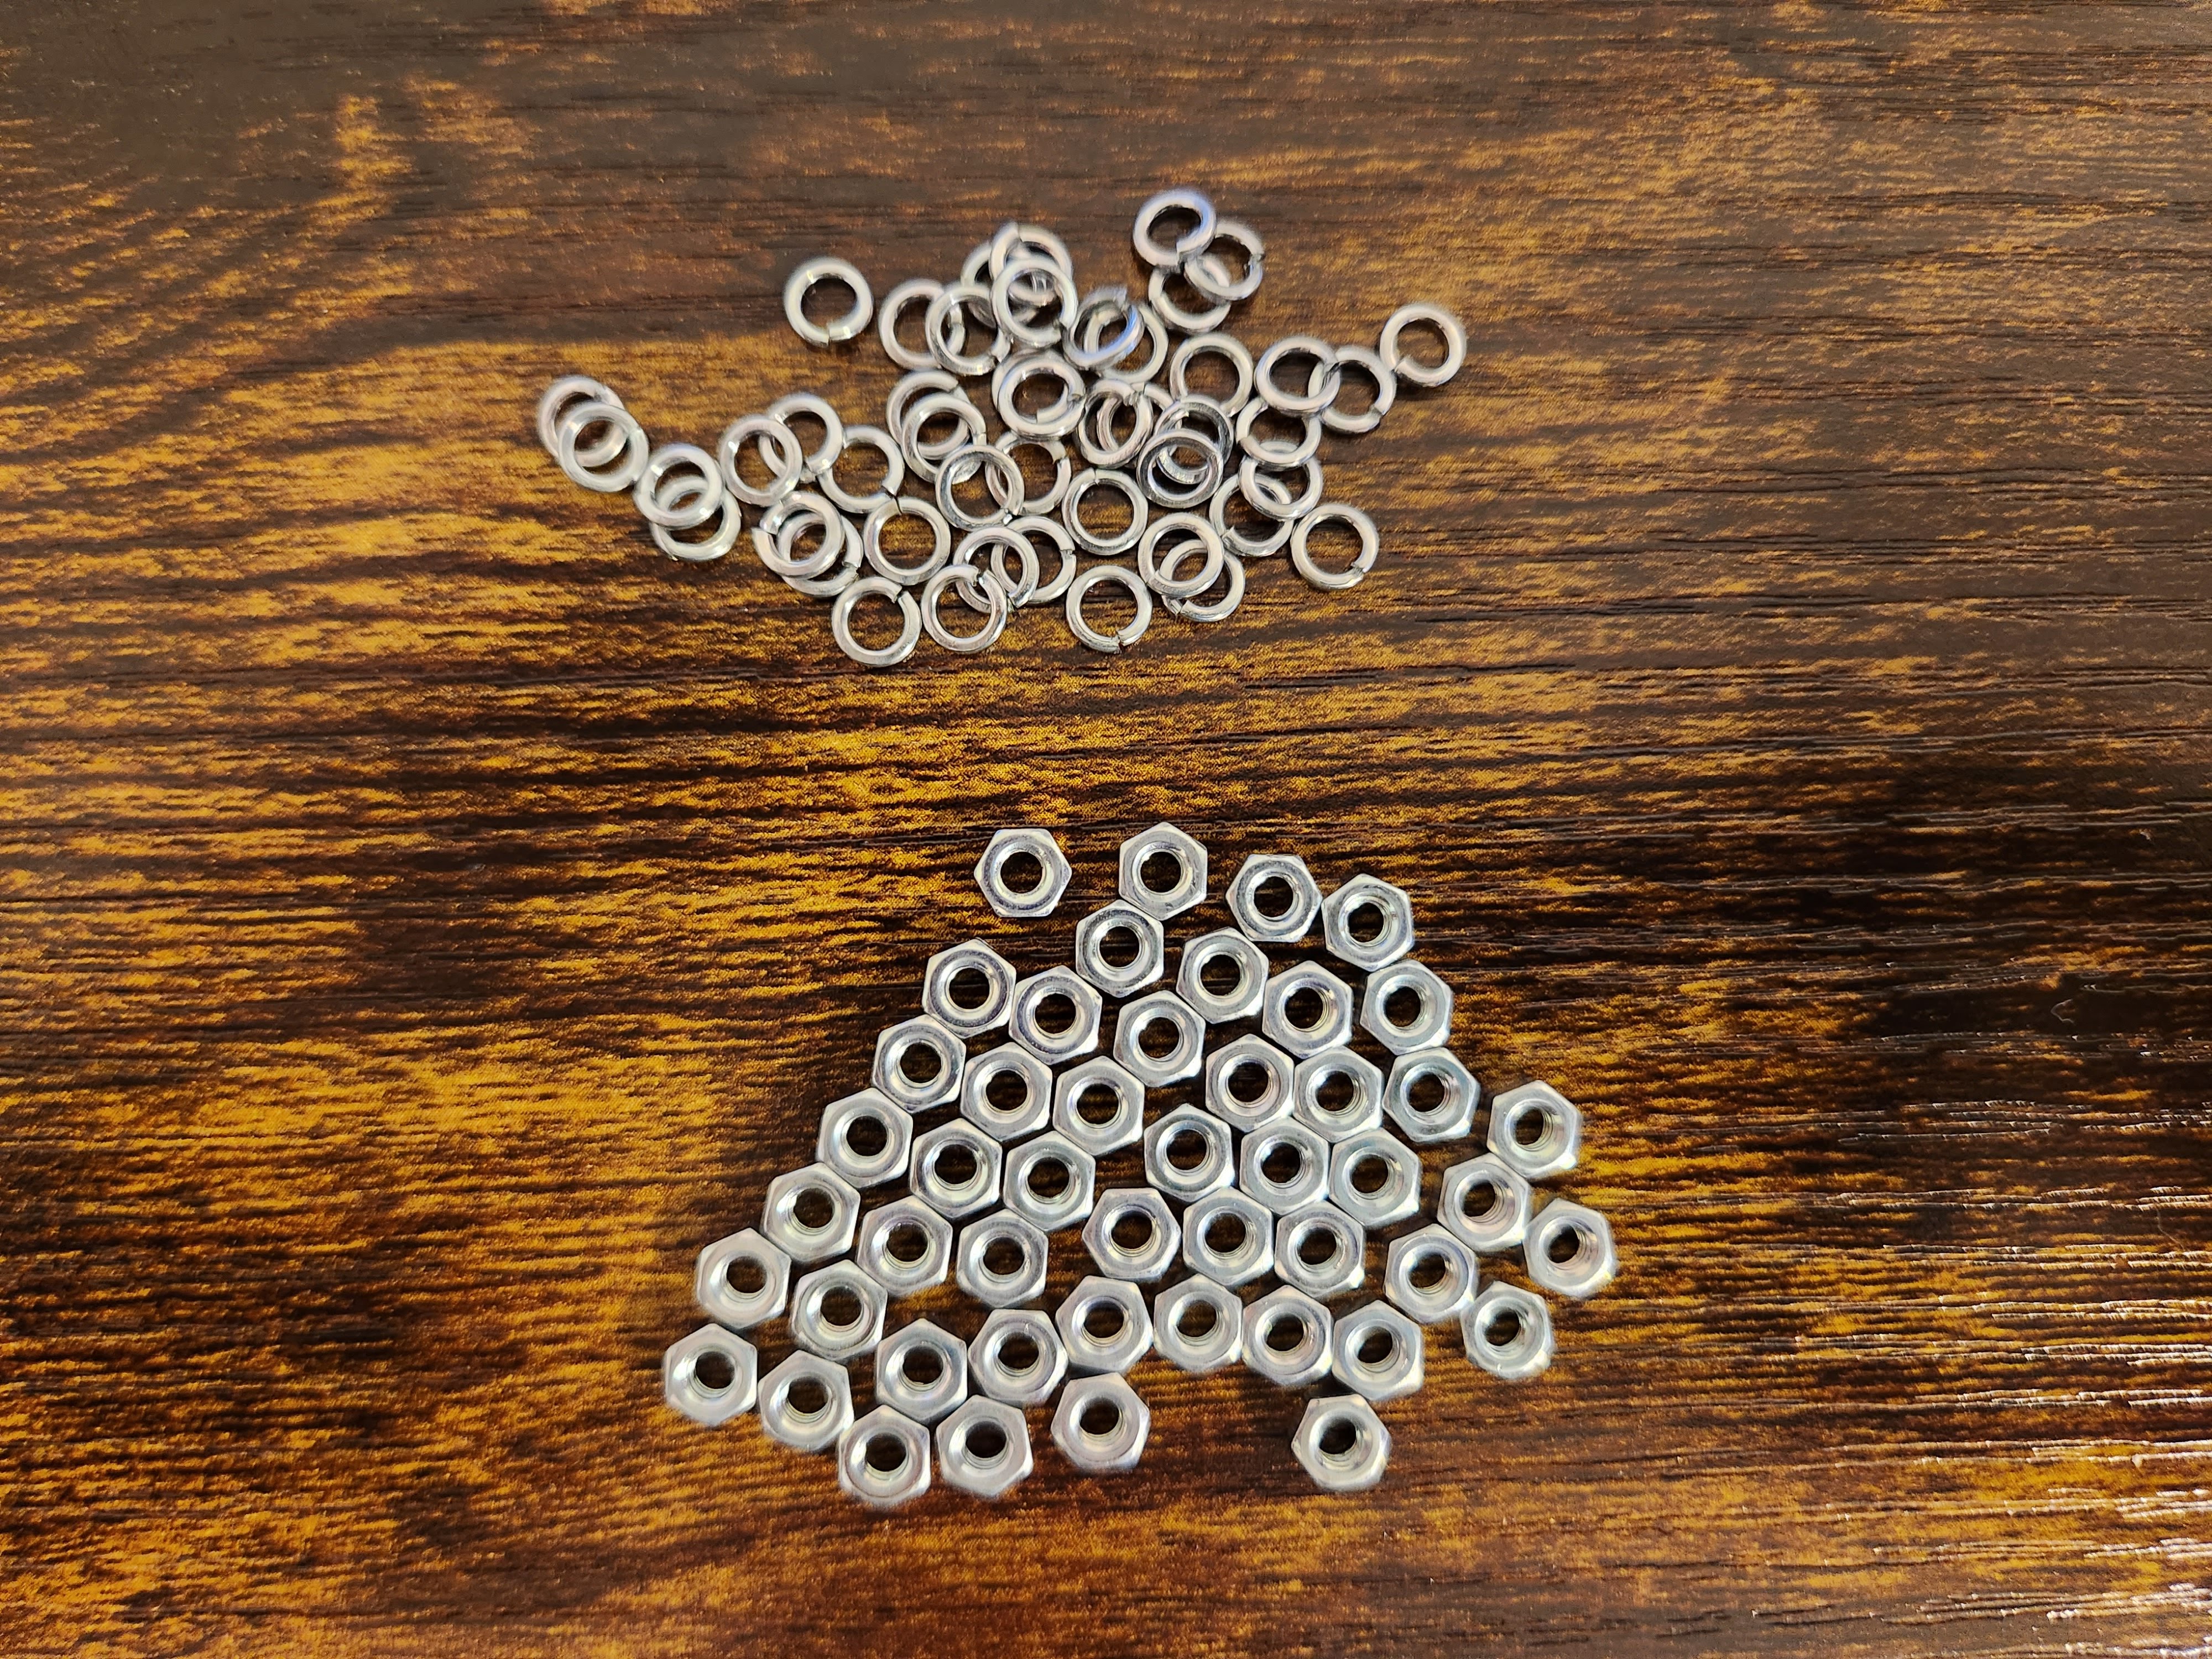 |
Tools needed
| No. | Tool Name | Image |
|---|---|---|
| 1. | Solder | 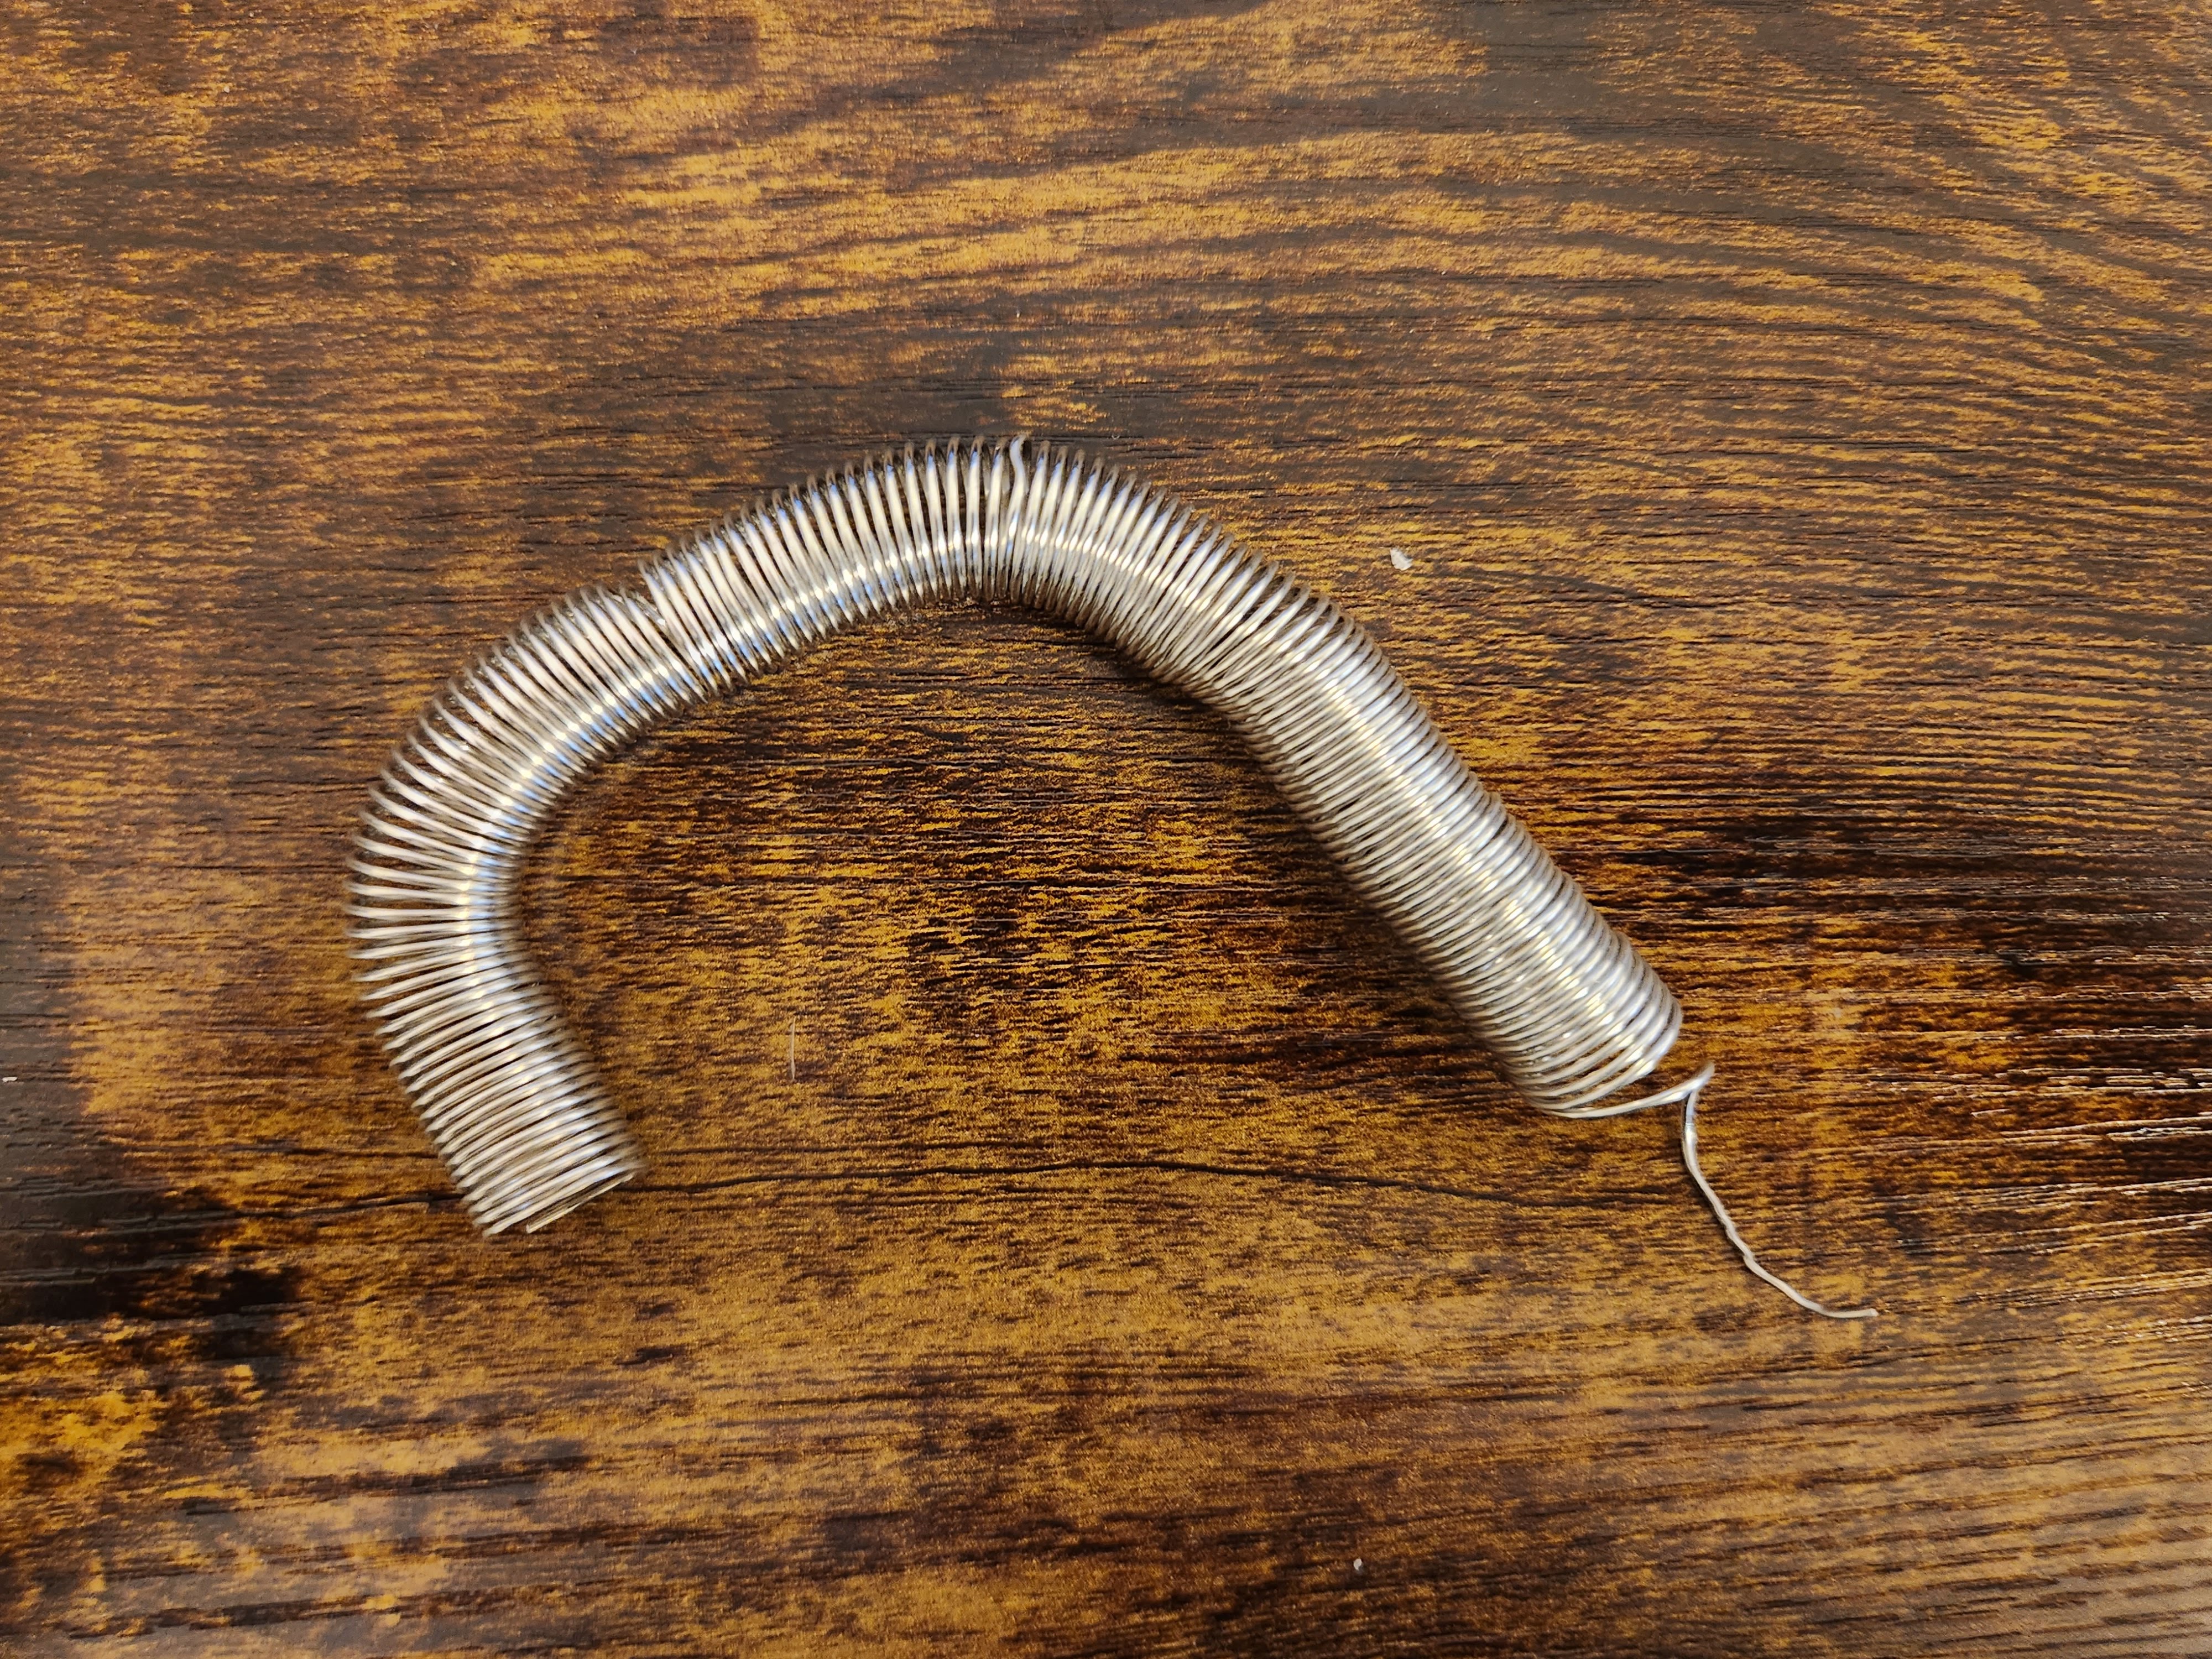 |
| 2. | Soldering Iron | 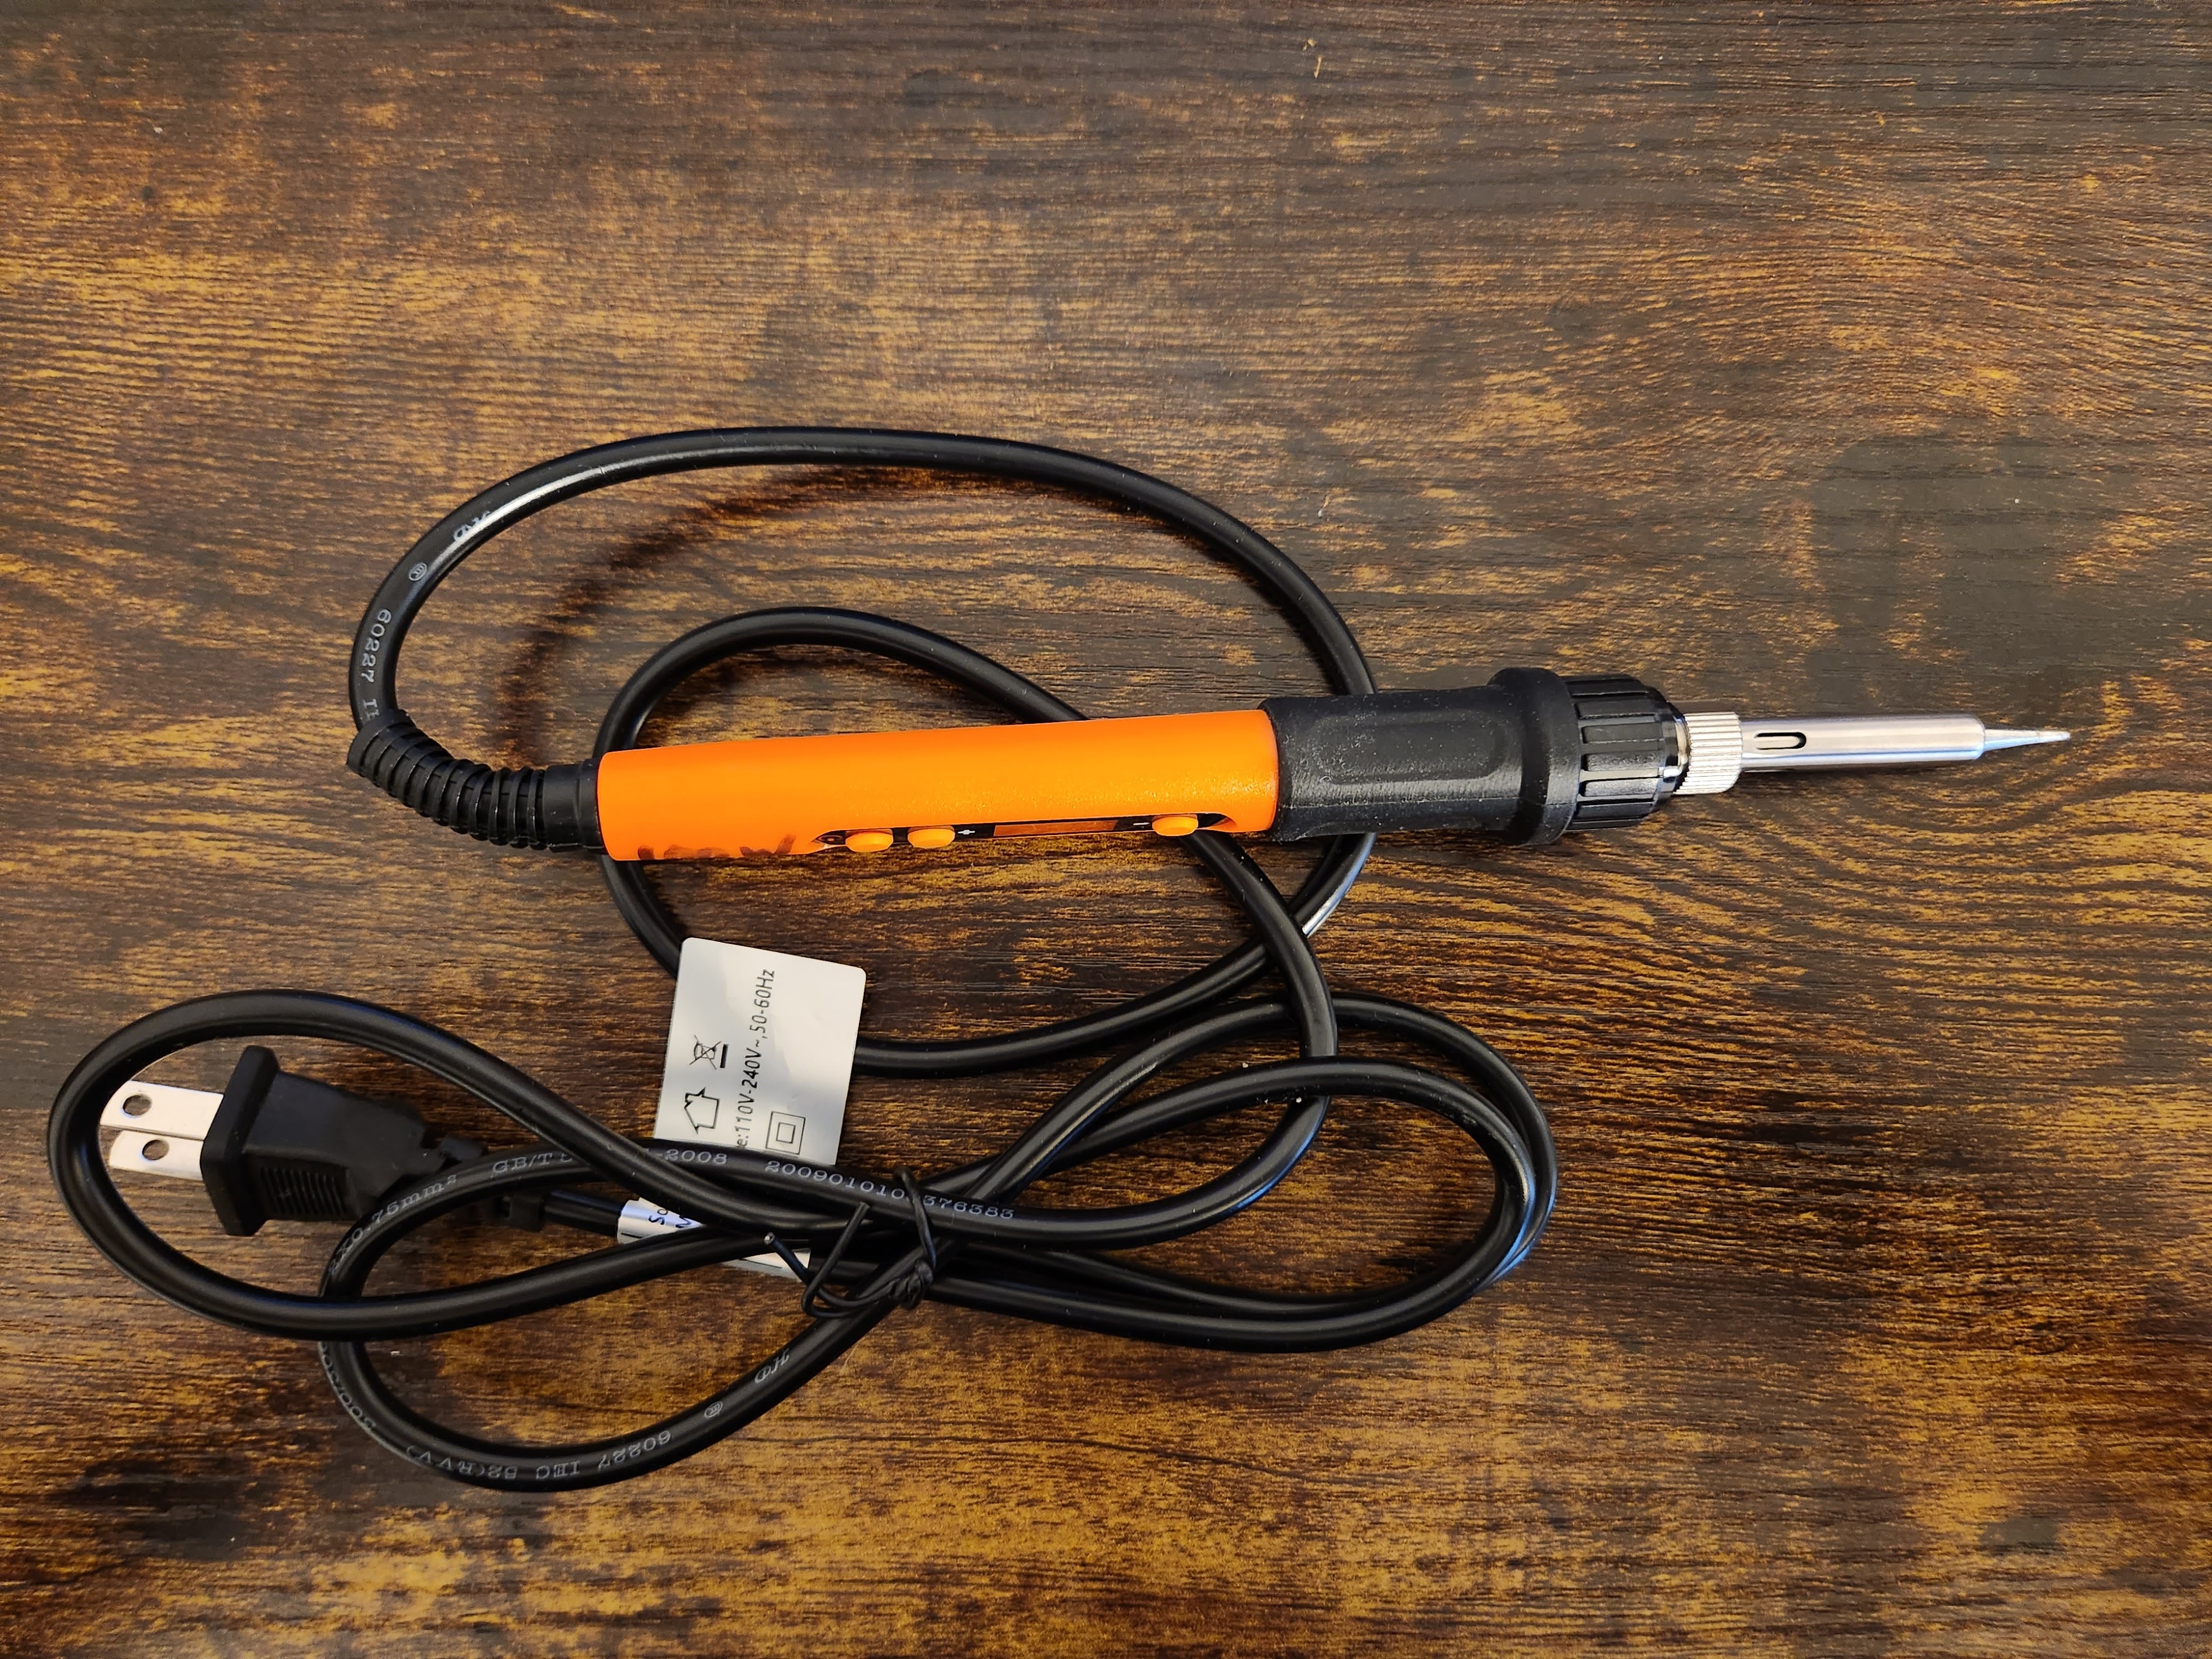 |
| 3. | Phillips Head Screwdriver |  |
| 4. | Pliers | 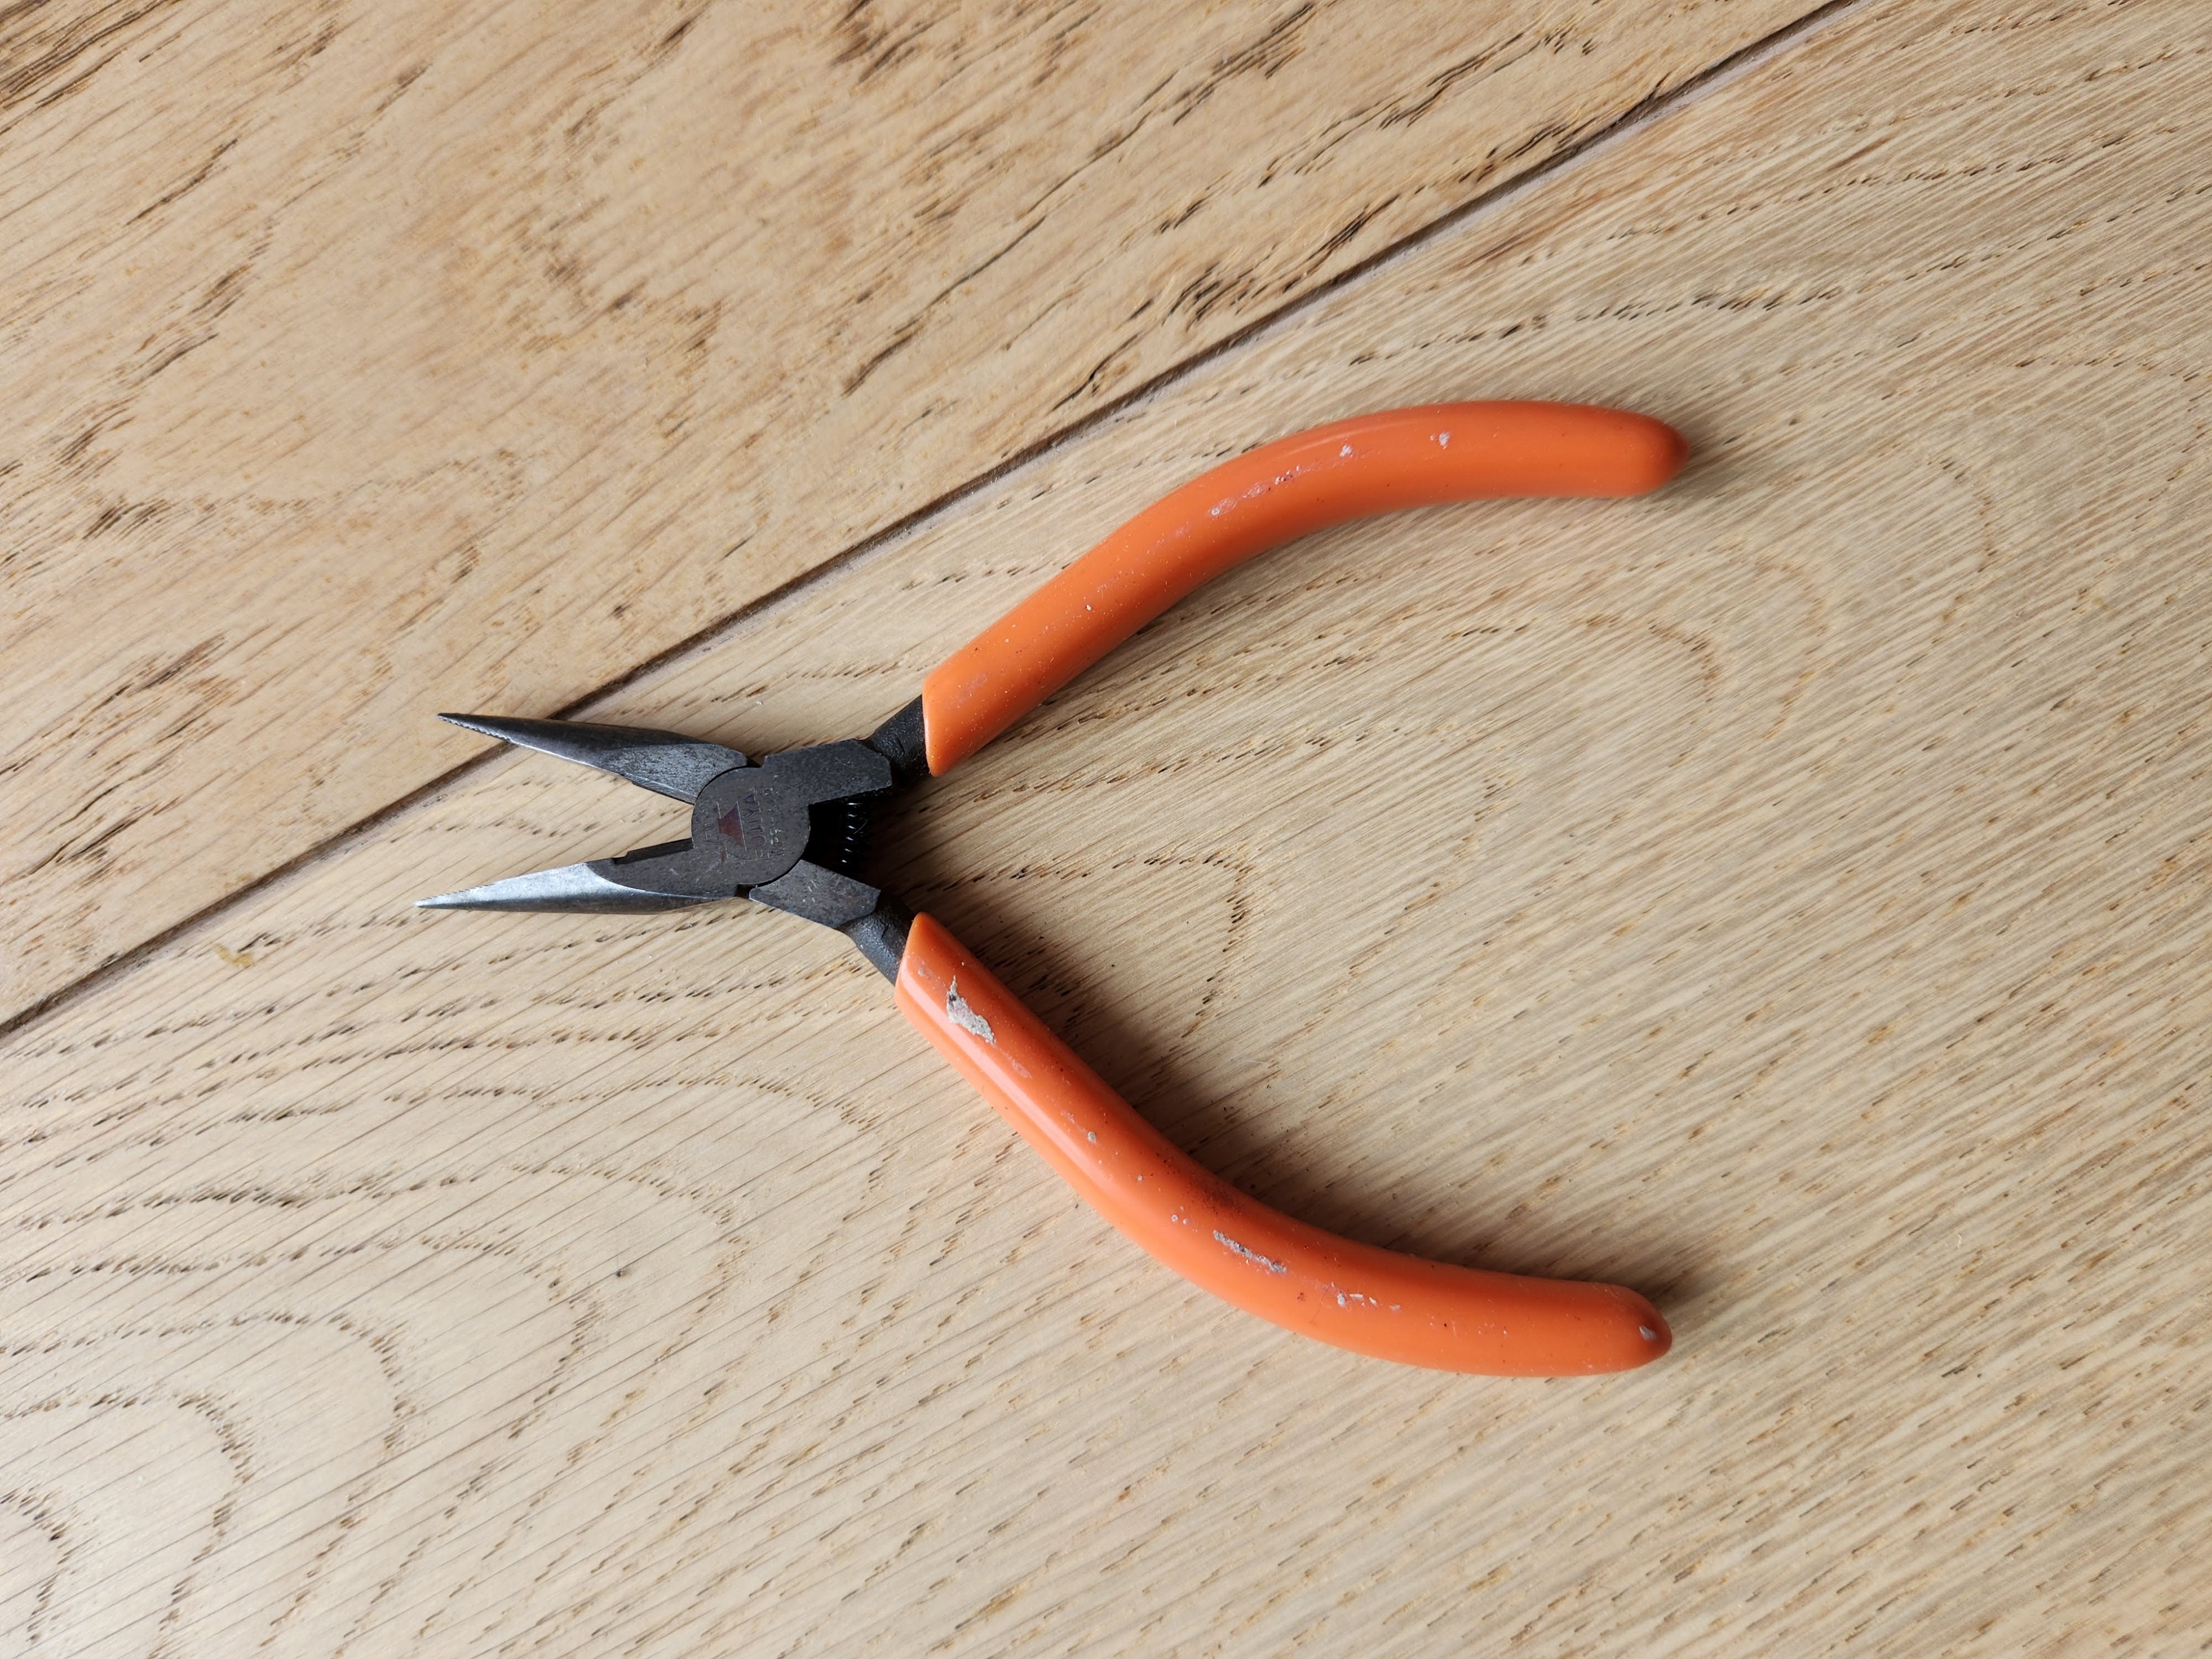 |
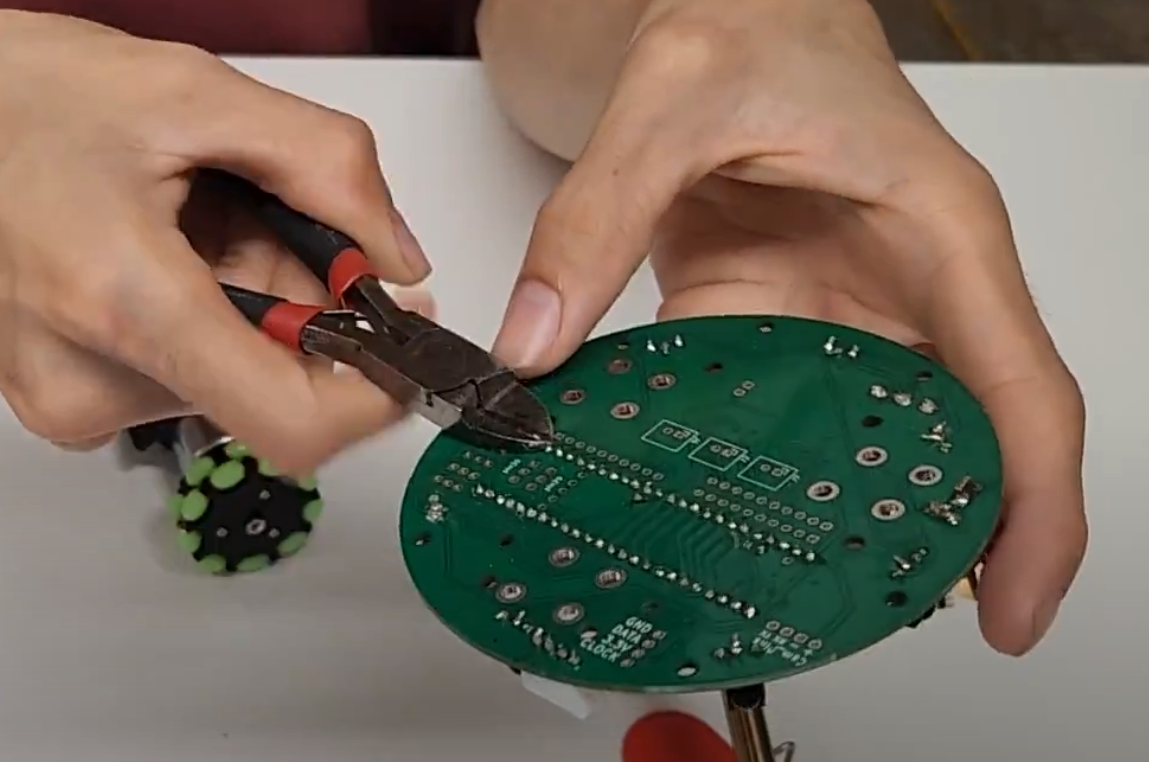
To mount the motors, we need as flat of a board as possible underneath where the motors will sit.
Use a wire cutter to cut any pins sticking out from under the Zircon board. Be careful not to damage the silkscreen (the green or black part of the Zircon board).
(short video showing cutting)
Secure motors
We will repeat the next steps 3 times for each motor. For this step, be sure not to overtighten the bolts and dig into the PCB. Tighten them comfortably but not too much.
Get four m3 bolts and m3 nuts. Secure the motor onto the Zircon board with the 4 bolts through the holes in the black casing.
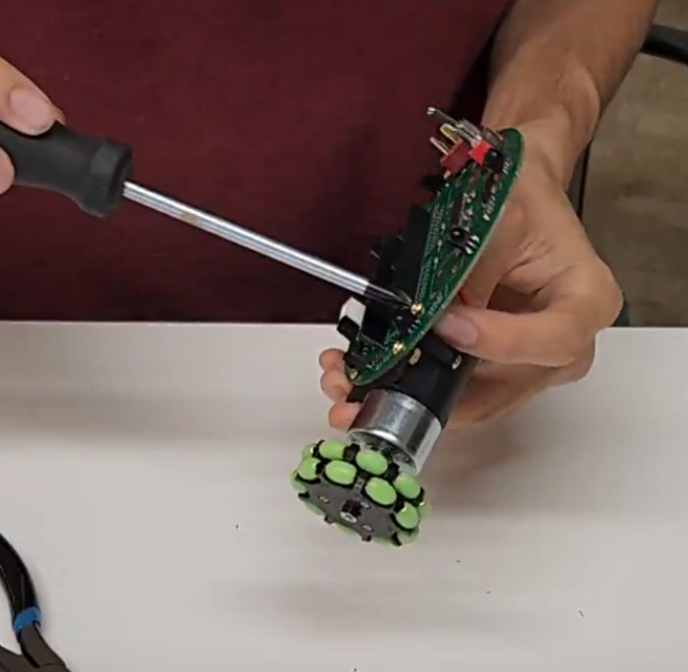
(insert finished picture)
Solder motor wires
Solder the motor wires into their respective pins Accidentally swapping the pins of the same motor is fine. The result would be the motor will spin in the opposite way than it is commanded (keep that in mind when programming).
Accidentally swapping pins from different motors is not fine, so if that happens please unsolder carefully and correct it.
Repeat these steps for the other 2 motors.
The result should look like this
(retake picture with new pinout)